Creating a closet recording studio is surprisingly easy with the right equipment and a bit of research. Thanks to advances in recording technology, even a moderate amount of closet space can hold a microphone booth and soundproofing equipment.
In this article, I cover my top tips for making a DIY recording booth. Specifically, I focus on the equipment you need and how to organize your closet space for the best effect. If you need to soundproof a closet for other reasons, I recommend checking out my other article.
What to Know When Building a Closet Recording Studio
Whether you’re working with a linen closet, walk-in wardrobe or closet beneath stairs, there are some key principles to consider before you start. The 3 key aspects are:
Acoustic Treatment
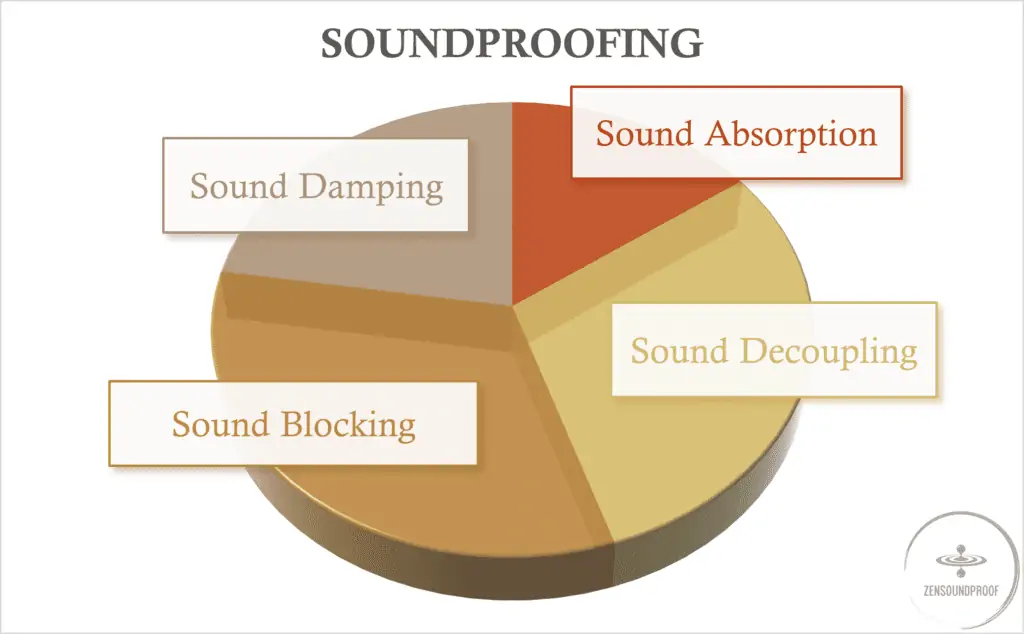
Acoustic treatment refers to the quality of sound within a space. It’s important for recording vocals because it helps them sound better. Specifically, acoustic treatment deals with reverb, echo and sound absorption.
Soundproofing
Soundproofing, on the other hand, refers to the amount of noise that can be perceived from outside the closet. To address this, you need to add things like mass and damping compounds. Check out my article on soundproofing a closet for more information on the differences.
Equipment
To convert a closet into a recording studio, you’ll obviously need some equipment. I’ll list this in more detail below, but it includes:
- The recording equipment (e.g., a microphone, laptop, etc.)
- Acoustic treatment equipment – acoustic panels, bass traps
- Soundproofing materials – mass-rich materials to prevent sound from transmitting out of the closet

It’s worth noting that building a sound booth in your closet won’t be a cheap project. Depending on the equipment you use, it could either be temporary, or you could set it up as a more permanent solution.
Tips for Turning Your Walk-In Closet into a Recording Studio
My tips aren’t a step-by-step guide for converting a closet into a sound booth. Instead, they’re a list of things you need to consider and how you can fit your soundproofing solutions around the closet’s normal function.
1. Assess Your Space
Although these tips aren’t in order, the first step will always be to assess your studio space. Think about the following:
- Does the closet need to keep its original function? In other words, can you sacrifice some space for clothes or storage when setting up your recording studio?
- What are the walls made from? Are they solid (brick), filled (insulation), or hollow? The answer will dictate what sort of soundproofing materials you need to use.
- How much room do you actually have? A recording booth doesn’t need to be big – just enough room for you, some acoustic panels, and perhaps a desk.
Finally, you should also think about whether you need both soundproofing and acoustic treatment. Soundproofing won’t always be necessary, especially if you plan to record audio for something like a podcast, as this won’t be loud.
Acoustic management, however, is vital. While such spaces might not seem big enough to create echo, you’ll notice the difference if you add some sound absorption.
2. Prepping Your Space
If you’re going for a more permanent solution, it’s worth making some adjustments before you start building your sound booth. For example, this could include stripping drywall to add soundproofing materials, removing clothes, or just tidying up. At the very least, you’ll need to make just enough space for your recording equipment.
It’s not completely necessary to overhaul your closet if you only need an occasional recording space. But if you plan to use it regularly, you’ll save yourself a lot of effort by making your adjustments permanent.
3. Adding Some Basics
Before adding your equipment, you’ll want to ensure you have some basic amenities. These include:
- Lights (your closet should already be equipped with some). It’ll matter more if you plan on recording yourself while performing.
- Electrical outlets.
- WiFi or a wired Internet connection.
How many electrical outlets you need depends on what you plan to do. That said, you’ll probably want at least 4 to cover your laptop, your WiFi router, microphone, speakers, etc. Of course, you’ll need to contact an electrician to get this sorted out safely.
4. Vocals, Music, or Both?
Vocals
I’ve framed this article mainly around building a recording booth for vocals, such as for podcasting, streaming or voice over work. A vocal booth will be much easier than a full recording studio. First, you’ll need less space. But you’ll also have less to deal with in terms of soundproofing and bass frequency management. After all, your speaking voice is much quieter than something like a drum kit!
Music Studio
Nothing is stopping you from converting a closet into a full recording studio, provided you’ve got the space. Most of the tips below will remain the same, too. The main difference is that you’ll want to put more effort into soundproofing the walls, especially for instruments like drums and electric guitars.
Similarly, you’ll want to ensure you have bass traps, and you’ll probably want some decent studio monitors for playback.
5. Adding Mass for Soundproofing
Next, add your soundproofing. I won’t go into detail on how to add these, as I discuss this further in my other article. However, here are some general tips to keep in mind.
Mass is used to block unwanted sounds from passing into or through a structure. You’d add it to the closet walls if they’re thin and you want to prevent sound from escaping. This might be the case in a hall closet or linen closet, but less so in a walk-in closet. In the latter, your clothes will do a surprisingly good job of reducing sound transmission.
Some useful products include:
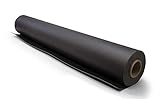
- Mass loaded vinyl (such as this)
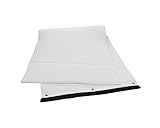
- Soundproof blankets. The heavier a blanket is the better the sound-blocking properties. I discuss further my top picks of soundproofing blankets in this article.
- Thick carpet (or rug pads)
You’ll also want to address the closet door, as this is a major area of weakness. Soundproof blankets, moving blankets or curtains are best for this.
6. Managing Reverberation
As mentioned, acoustic management is the more important aspect for managing sound quality within your recording booth. You can get hold of pretty much the same stuff they use in recording studios.
Soundproof blankets
Soundproof blankets or a moving blanket also work for this for the same reason clothes help: the soft surface prevents sound waves from reflecting via the principle of sound absorption.
Acoustic panels
However, a dedicated product like acoustic panels (such as these) will be best. You can either fix them to the walls or stand them on a frame. Freestanding office panels (such as these) can help reduce the size of your recording booth, too.


I recommend checking out this video on acoustic panels. It explains what they are and where to position them for best results.
Bass traps
You might also want to consider bass traps. These won’t always be necessary for vocal booths, but will help if you’re playing instruments or mixing music. Bass traps are acoustic foam panels that sit in the corner of a room. They help manage bass frequencies, which typically reflect in corners.
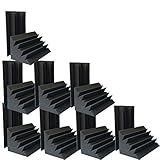
The sound absorption of acoustic materials is measured with an NRC rating. The higher the better. I compared the NRC ratings of various foam in this separate article.
Whether you install bass traps or traditional acoustic foam, you have plenty of options to hang them as I discuss in this article.
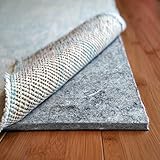
Carpets
Hard floors are an ideal surface for sound wave reflection. Obviously, that’s not what you want in a recording booth. Thick carpet is helpful for sound absorption. If you don’t have a carpet fitted, buy some thick rug pads to lay on the floor.
You won’t need to cover the whole floor – just focus on the immediate area around your booth.
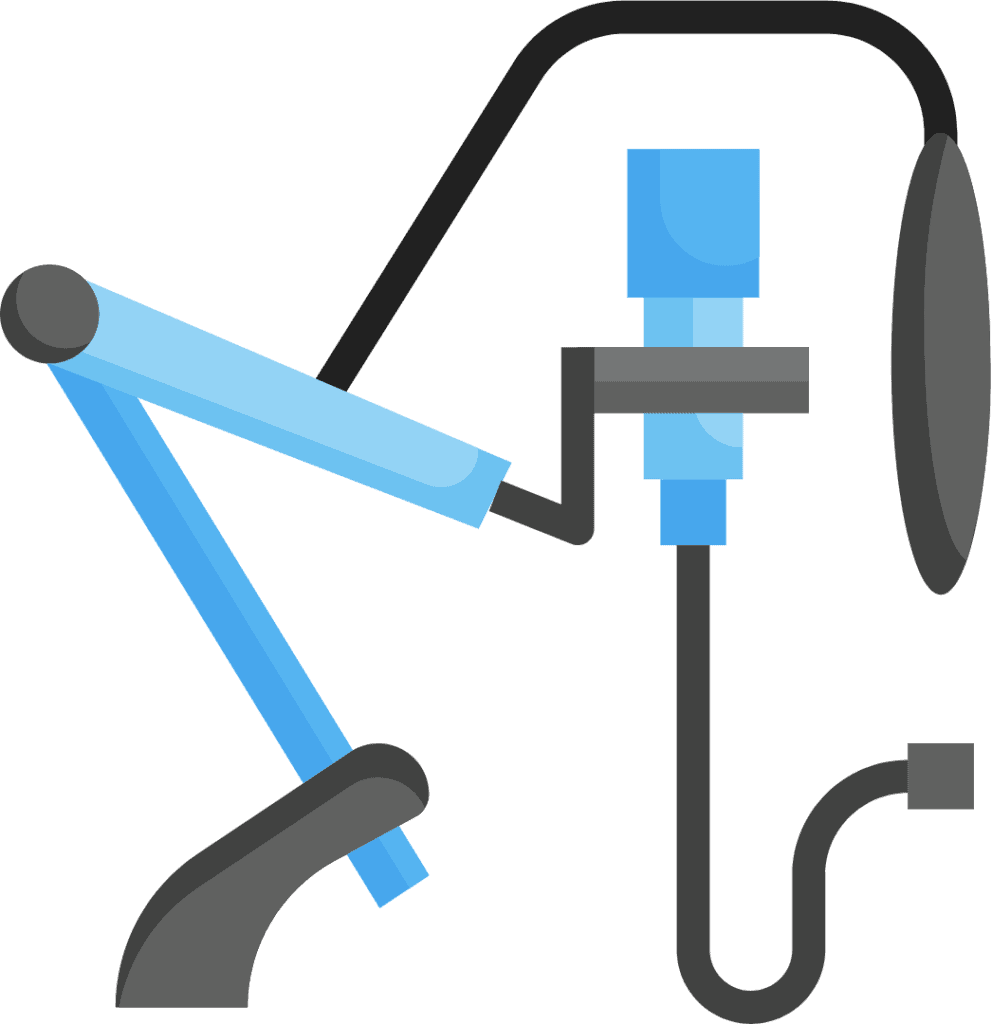
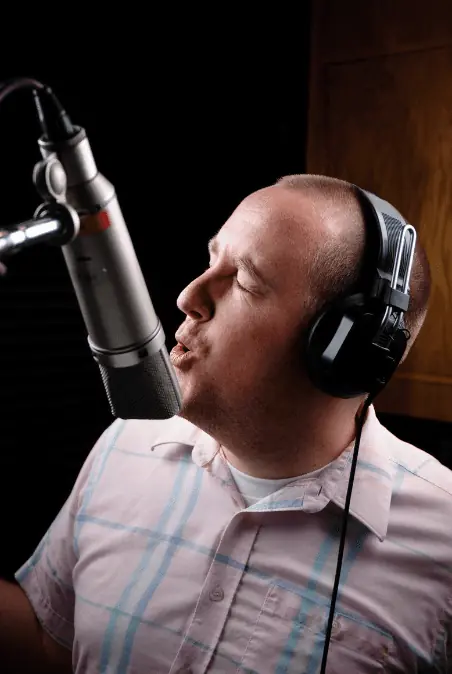
7. Recording Equipment
Now for the stuff that actually turns your soundproof closet into a recording studio: recording equipment. You’ll need:
- A laptop
- Microphone
- Pop shield
- Mic stand
- Music stand or similar
- Headphones
- Speakers
- Reflection filter
- An audio interface
If you’ve got the space, it’ll be worth setting up a desk and chair. A desk will allow you to arrange your equipment better, especially if you’re dealing with lots of cables from the mic and audio interface.
There’s no set way to arrange your equipment in your DIY sound booth. Where you place your acoustic treatment materials will depend on the layout of your mic and desk. As such, it’ll be worth running some tests by recording audio and listening back to it. You can then play around with your acoustic foam to find the best position for it.
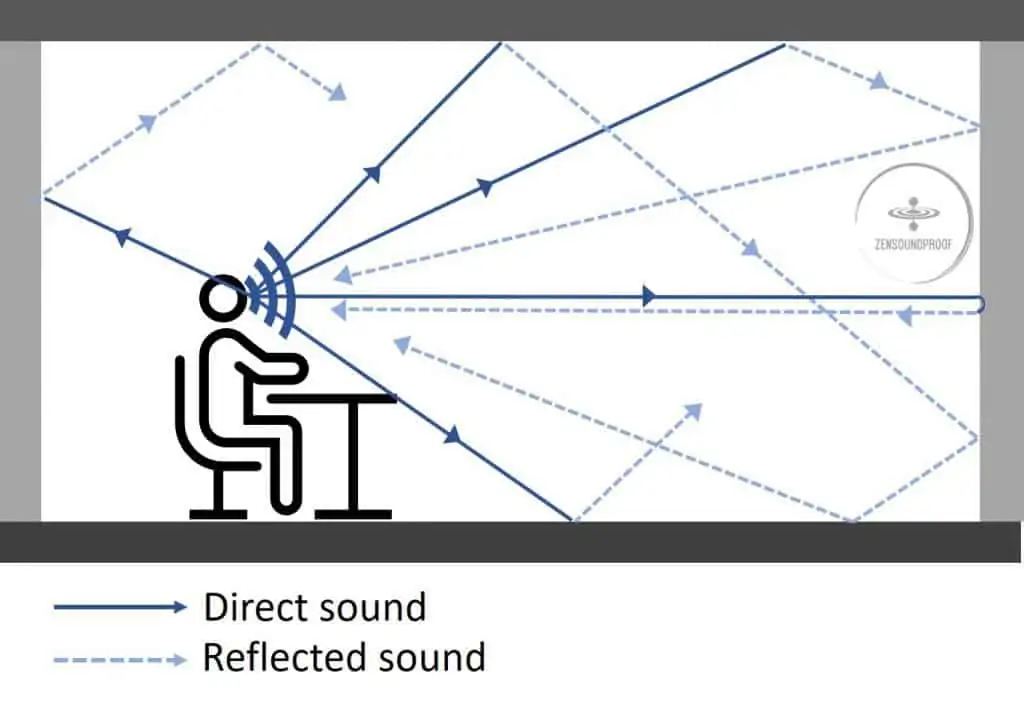
Generally, you shouldn’t need to cover every surface in acoustic foam. The most important areas are the first reflection points, which are where sound waves first reflect off a wall. For a microphone, this’ll be directly behind it and probably off to both sides.
8. Testing and Finalizing
Even if you’re only setting up a recording studio for amateur work, it’s worth spending time testing and finalizing your setup before you jump into recording. Ideally, you’d use a speaker calibrator, but this isn’t something many of us have access to.
Instead, I recommend recording samples of audio and then playing around with your audio interface. It should come with a setup guide, and what you change and how will depend on the specific equipment and issues with the sound quality.
It’s worth spending more time on this step than you think might be necessary. You want to ensure your vocals are clean and clear, and that all your equipment is placed correctly.
This step will be much easier if your studio is going to be permanent. For a temporary booth, it’ll be worth taking pictures so you know where everything goes. Better yet, mark on the floor where you position your panels and recording equipment.
Keeping tabs on placement will make it easier to set up your booth each time you need it. Not doing so will lead to changes in audio quality, which is never what you need!
Alternatives to Building a DIY Sound Booth
Converting a closet into a recording studio is a fun project, but obviously isn’t always a practical solution. For example, you might not have the space or time to completely overhaul your walk-in closet.
Luckily, there are other solutions for creating a recording space:
Portable Sound Booth
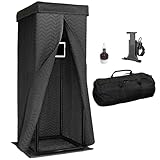
Perhaps the easiest is to buy a portable sound booth. These come in all shapes and sizes depending on your needs and budget. For example, there are ones like the Snap Studio Recording Booth. It’s basically a frame covered in thick fabric. You stand inside the box and record your vocals and then fold it away for storage. This video gives you an example of what they look like when assembled.
Alternatively, there are smaller options such as a portable recording booth (such as this) or a microphone isolation shield (such as this). These are basically shaped acoustic foam that you put your microphone inside.


Bear in mind, though, that none of these solutions is as effective as a dedicated recording studio. Acoustic foam on its own isn’t great, and the soundproof blankets used on the portable booth don’t address all aspects of soundproofing and audio treatment.
Pre-Built Vocal Booth
Another option is a pre-built vocal booth. These are essentially boxes filled with acoustic management and soundproofing materials. While they won’t be cheaper than converting a closet, they’re arguably easier.
A benefit of using a pre-built booth is that you get a certain level of mechanical isolation. Decoupling is often thought of as “a room within a room”, and that’s what these booths are!
An example of what this looks like is Vocal Booth. For example, its Platinum Series booth has a double-wall design and acoustic foam inside. Another example is Studio Bricks, which produces the same kind of thing.
You can check out this video for an example of how easy these models are to install. A pre-built booth like this should fit in a standard garage with little issue.
Final Thoughts
Converting a closet into a recording studio doesn’t need to be a massive project. If you just want something quick and simple, a bit of acoustic management will do the job. Of course, it can get as complicated and in-depth as you want it to be.
Hopefully, this article has given you some tips on how to get the most from your at-home recording studio. Do you have any other suggestions for equipment, or tips to improve the space? Let me know in the comments.
