Knowing how to hang acoustic foam without causing damage is useful for renters and homeowners alike. Luckily, there are plenty of options for this that can effectively reduce reverb and keep your walls safe.
In this article, I’ll cover my top tips for how to stick acoustic foam to wall(s) without causing damage. I’ll suggest both temporary and permanent solutions that should suit everyone, regardless of wall type.
How to Hang Acoustic Foam on Walls
To install acoustic foam panels, we can use a variety of methods. These include:
- Hammer and nails
- Spray adhesive
- Command strips
- Glue
- Adhesive hooks
- Velcro strips
- Tape
The option you choose depends on how much damage you’re willing to cause, the type of wall, and whether the panels are temporary or permanent. Unsurprisingly, options involving glue are much more permanent than something like hooks.
I cover the different products for installing acoustic foam elsewhere, so here, I’ll focus on hanging on different wall types. Generally speaking, we can divide this into 2 types: hollow and solid. Of course, there are plenty of solid wall types but, providing the wall is plastered, installation should be the same.
Wallpaper shouldn’t present any problems in terms of installation – treat it the same as drywall, as that’ll be the most similar (flat) wall surface. Of course, removing something adhesive from wallpaper will probably pull some off, but that’s a risk you’ll have to take.
Installing Acoustic Foam on Hollow Walls
By hollow wall, I mean a drywall partition wall. It requires a slightly different method because of how drywall bears load, although this shouldn’t be super important for a lightweight product such as acoustic foam.
To install acoustic foam panels on drywall, you’ll need:
- Construction knife
- Cardboard
- Acoustic foam
- Spray adhesive
- Command strip
Then, do the following:
1. Measure Your Acoustic Foam Panels
The first step is to measure the size of the panels you need and decide on your foam placement. The most obvious place to start is on the wall opposite your noise source to catch the first point of reflection of the sound waves.
It might help to draw a room plan on some paper, including your speakers/noise source. This’ll help you decide on the most accurate placement. You won’t need to cover the entire wall, as a few well-placed panels will be enough.
2. Prep Your Acoustic Foam
Next, make a cardboard panel to serve as backing for your acoustic foam. Of course, if you’ve bought a ready-made panel, you can skip this step. The cardboard makes it easier to put up an acoustic foam panel on the wall and will cause less damage. You could also use a thin sheet of MDF or similar rigid product.

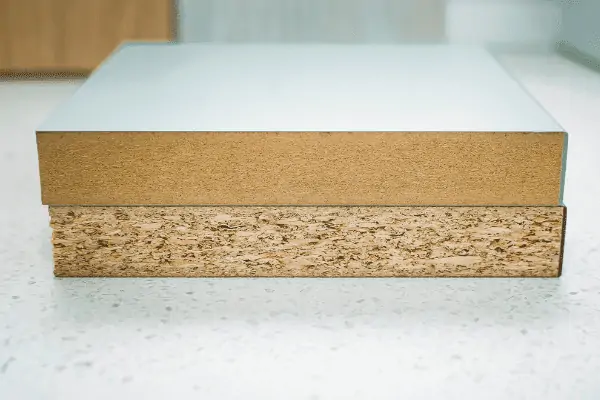
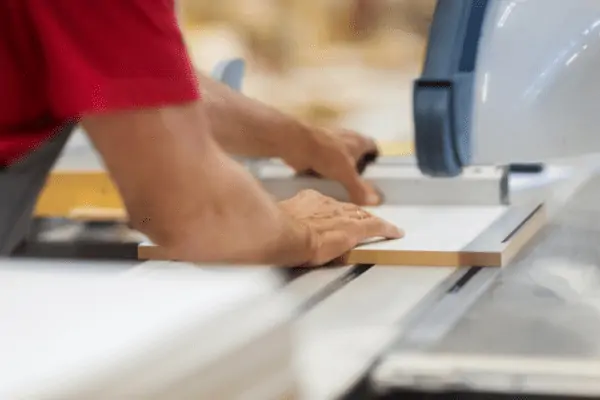
Cut it to the same size as your acoustic panel, use some adhesive spray, and stick the foam down. Leave it to dry for a few hours before you move on to the next step. Avoid something like construction adhesive, as this can clog the foam’s cells, reducing its acoustic treatment properties.

3. Hanging The Acoustic Foam Panel
I recommend using 3M Command strips for hanging on drywall because they’re one of the best products for this purpose. Better yet, you can peel them off without causing any damage.

However, they can only be stuck to clean, flat surfaces. You’ll want to use some rubbing alcohol to wipe down the wall where you’ll stick them. Use a minimum of 4 strips per foam panel, stuck in the corners.
When using any kind of solvent around acoustic foam, avoid household cleaners. They can melt the foam (as will most solvents), but something like isopropyl alcohol is fairly safe. If you’re concerned, do a patch test on a bit of spare foam, or keep it away from the foam entirely.
4 strips have a weight limit of 8lbs., which should be enough. If not, just use more (in pairs). Each pair of strips adds roughly 2lbs. to the weight limit. Simply stick each panel to the wall, and you’re done.
Installing Foam Panels on Solid Walls
Solid walls require a slightly different installation method, typically because the surface won’t be as flat (more surface irregularity). That said, you could use 3M Command strips, but we’ll choose a different product here: Velcro strips.

The Velcro strips are adhesive and shouldn’t cause any lasting damage to your wall surface. Sure, it might leave some residue, but that’s easy to remove with some rubbing alcohol or solvent.
Velcro and 3M Command strips have similar adhesion properties. I’m recommending Velcro here because we’ve already covered 3M Command strips above, so this is an alternative (more flexible) installation method.
Solid walls include the following:
- Exposed brick or concrete
- Plastered brick or concrete
- Breezeblocks
Essentially, it’ll include anything that isn’t built of drywall or wood. The only major difference is that something like breezeblocks has a rougher surface, so options like spray adhesive often won’t be as effective.
For this method, you’ll need:
- Velcro strips
- Acoustic foam
- Cardboard/backing material
- Knife
Then, do the following:
1. Prepping Your Acoustic Panels
To get your panels ready for hanging, follow steps 1 and 2 above. It’s exactly the same up until it comes time to hang the panels.
2. Hanging The Panels
Map out where the Velcro strips will go on your wall. Add a couple of pencil marks just to make sure you align the strips when you stick them up.
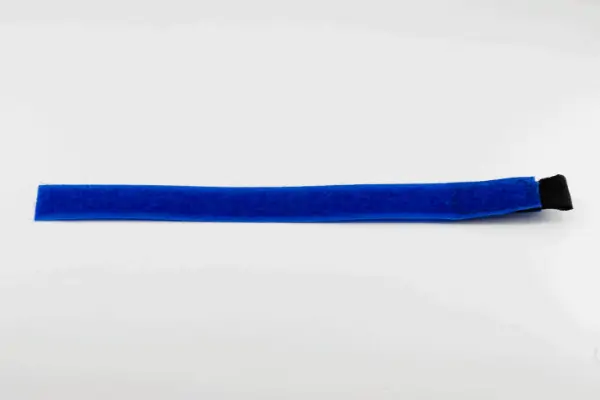
Stick a strip of Velcro on the back of your panels. Use a minimum of 2, but consider putting one on each side. Velcro has a pretty high weight limit, so this is more about ensuring they lie flat on the wall.
Peel the backing off the side not stuck to your panel, and simply stick it to the wall. Press down fairly hard and hold in place for a minute or two. Repeat for each panel you want to hang.
Installing Acoustic Foam Without Damaging Walls
The methods described above should cause minimal damage to your wall surfaces. At worst, you’ll have to remove some adhesive residue, but this isn’t a big job. Even so, let’s cover some other methods, particularly for temporary installation.
How to Mount Acoustic Foam Temporarily
Lattice
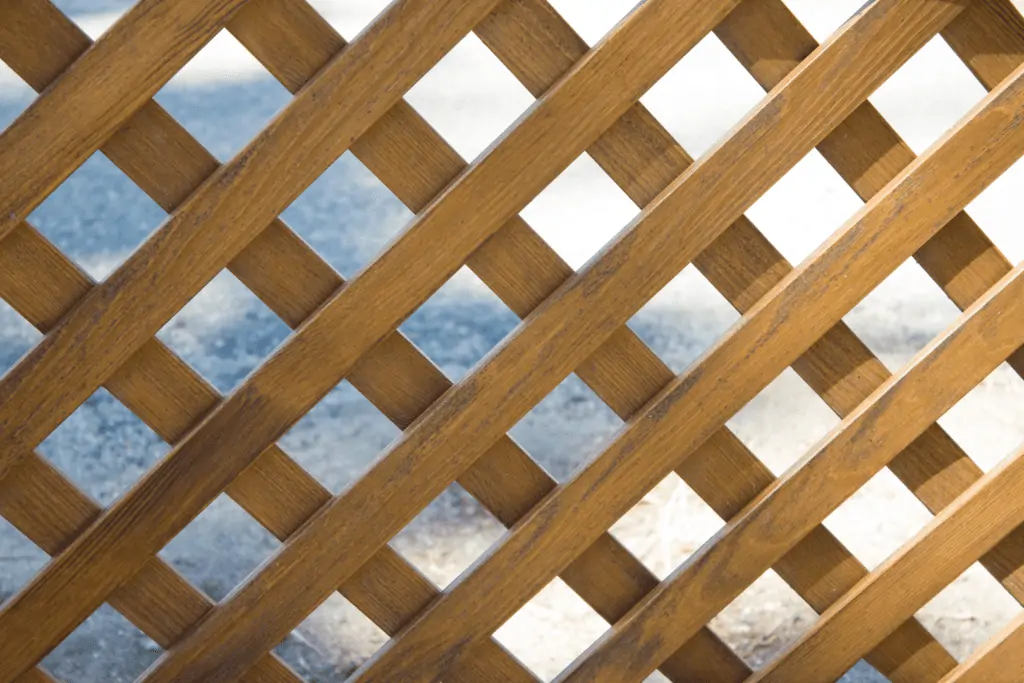
If you need a short-term solution with absolutely no impact on your wall surface, the best product to use is a garden lattice. This might sound unusual, but it’s pretty well designed for what we need to do here.
Setup is simple. Follow steps 1 and 2 in the drywall method to get your prepped acoustic panels. Then, attach them to your garden lattice. You could use normal glue, zip ties, or just about anything else that’ll fix them together. Whatever you choose, make sure it adheres to the cardboard and has no impact on the foam.
Then, prop up your lattices where they’re needed. As you can imagine, you won’t have as much flexibility with placement, but it’s a useful temporary solution if you’re out of ideas.
Adhesive hooks
Another method you can use for temporary placement is adhesive hooks. Note, these could still leave residue on your walls, but they at least give you the option of taking the panels down when not in use.

Using hooks will mean adding some kind of loop on the back of your panels, though. You could achieve this using something as simple as string and tape or another set of adhesive hooks.
Bear in mind that your panels won’t be too stable if you use this method. Unlike Velcro, which will fix them in place, hooks obviously have a bit more wobble in them. But, on the other hand, it means the panels will come down more easily!
How to Mount Acoustic Panels with Minimal (or no) Damage
Although the options I’ve listed so far will leave minimal or no damage, let’s cover a couple more products that can do the job. I won’t bother listing steps, as it should be obvious how they’ll fix to the wall. Just follow the steps above and swap out the mounting product with whatever is suggested below.
Molding hooks
A molding hook is used for hanging pictures from railings (molding) around a room. While you might not have molding in your room, they can be used to hang things from false ceilings instead.

You’d simply fix a hook onto the ceiling frame and then suspend a panel from some wire. I’d suggest at least 2 hooks per panel, more for stability than weight allowance. Bear in mind, though, that this method will mean lots of wire on show.
Brick clips
If you’ve got exposed brickwork on your wall, brick clips might be perfect for this job. Unlike adhesive options, they clip around the brick’s face in the mortar gaps, so won’t leave any marks or residue on the wall.

Also, bricks are often difficult to stick things to because of their rough and porous surface. Like the adhesive hook method above, you’ll need to fix some kind of loop on the back of your acoustic panels.
Magnets
How could we go over options for hanging things and not mention magnets? We won’t use proper magnets here, but rather magnetic adhesive sheets. These simply stick onto objects and then stick to each other (magnetically).

This is obviously another option for temporary panels, although the sheets you stick to the wall will be a bit more permanent. Like the Velcro option, it gives you flexibility, and you could always put something up in place of the panels when they’re not needed.
You’ll find these will stick best to flat surfaces like drywall and plaster. Of course, if your wall is metal for some reason, these will work perfectly. As with other adhesive options, don’t expect them to work too well on exposed brick, concrete, or other rough wall surfaces.
Final Thoughts on Installing Acoustic Foam
As you can see, there are loads of options for hanging foam panels without causing damage. Better still, none of them are particularly difficult thanks to all the different adhesive or hook products you can buy.
Have you tried hanging acoustic foam panels using any of the methods above? Do you have any other suggestions for useful products? Let me know in the comments below.
